A garage door hinge is an important component of your garage door system that helps to keep the door in place and allows it to open and close smoothly. However, over time, these hinges can become worn or damaged and may need to be replaced. Replacing a garage door hinge can seem like a daunting task, but with the right tools and a little bit of know-how, it is a relatively simple process. In this article, we’ll show you how to replace a garage door hinge and get your garage door working like new again.
Before you begin, you will need the following tools:
- Screwdriver
- Drill
- Drill bits
- Wrench
- Replacement hinge
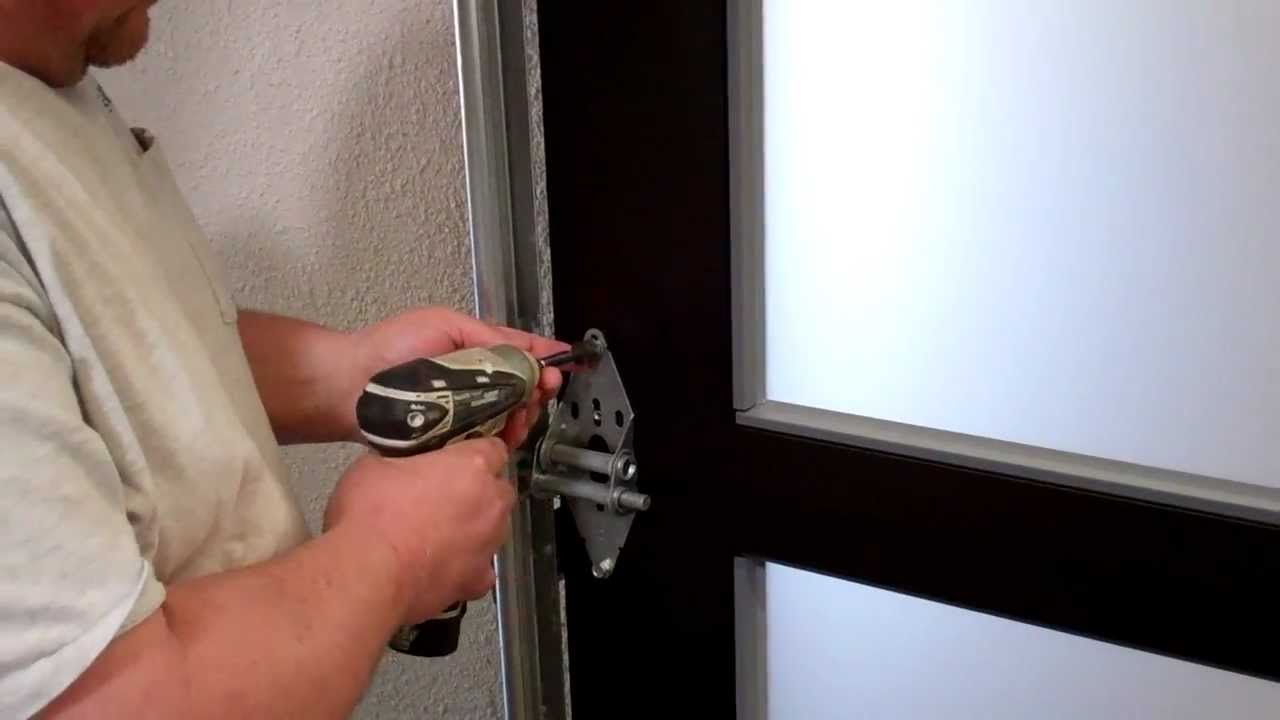
Step 1: Remove the old hinge
Before you can install a new hinge, you will need to remove the old one. Begin by using your screwdriver to remove the screws that hold the hinge in place. Once the screws are removed, the hinge should come loose. If it doesn’t, you may need to use a wrench to loosen it further. Once the hinge is loose, you can remove it from the door.
Step 2: Measure and mark the new hinge
With the old hinge removed, you can now measure and mark the location for the new hinge. Measure the distance between the top and bottom of the hinge and mark this distance on the door. This will ensure that the new hinge is in the correct location.
Step 3: Drill pilot holes
Using a drill and a small drill bit, make pilot holes in the door where you marked the location for the new hinge. These pilot holes will guide the screws for the new hinge and ensure that they are in the correct location.
Step 4: Install the new hinge
With the pilot holes drilled, you can now install the new hinge. Place the hinge in the correct location and use the screws that were provided with the hinge to attach it to the door. Make sure that the hinge is level and that the screws are tight.
Step 5: Test the door
With the new hinge installed, you can now test the door to make sure that it is working properly. Open and close the door a few times to ensure that it is moving smoothly. If the door seems to be sticking or is not moving smoothly, you may need to make further adjustments to the hinge or the door itself.
Step 6: Repeat the process for the other hinges
Once the first hinge is replaced, repeat the process for the other hinges on the door. Make sure that all hinges are secure and in the correct location before you finish.
In conclusion, replacing a garage door hinge may seem like a daunting task, but with the right tools and a little bit of know-how, it is a relatively simple process. By following these steps, you can ensure that your garage door is working smoothly and that it is secure. Remember that safety is always the most important thing, so if you feel uncomfortable with the process, it is recommended to seek professional help. Additionally, make sure to have the right replacement hinges, as they vary with different types and brands of garage doors, and also, check the manufacturer’s instructions to ensure proper installation. With a little bit of effort, you can have your garage door working like new again.