Vinyl flooring is a popular choice for homeowners and businesses alike due to its durability, affordability, and ease of installation. However, over time, even the best quality vinyl flooring can suffer wear and tear, requiring repair or replacement. If you notice any tears, scratches, or other damage to your vinyl flooring, the first step is to assess the severity of the damage. Minor damage can often be repaired using a vinyl floor repair kit, which typically includes a patching compound and instructions on how to use it. In this step-by-step guide, we will walk you through the process of repairing and replacing vinyl flooring, providing you with all the information you need to ensure your floors look as good as new.
Assess the Damage
- The first step in repairing or replacing vinyl flooring is to assess the damage. If you have scratches or scuff marks on the surface of the floor, these can often be repaired without having to replace the entire floor. However, if you have significant damage, such as cracks or holes, you may need to replace the affected area.
Gather Your Materials
2. Once you have assessed the damage, you will need to gather the necessary materials. For small repairs, you may only need a vinyl flooring repair kit, which typically includes a filler, adhesive, and color-matching chart. For larger repairs or replacements, you will need to purchase new vinyl flooring, as well as adhesive, a trowel, and a utility knife.
Prepare the Surface
3. Before you begin repairing or replacing your vinyl flooring, you will need to prepare the surface. This involves cleaning the area thoroughly and removing any debris or loose material. For larger repairs, you may also need to remove the damaged section of the floor using a utility knife or saw.
Make the Repair
4. If you are repairing a small section of vinyl flooring, you can use a vinyl flooring repair kit to fill in any scratches or scuff marks. Follow the instructions on the kit carefully, ensuring that you mix the filler and adhesive correctly and apply it evenly to the damaged area.
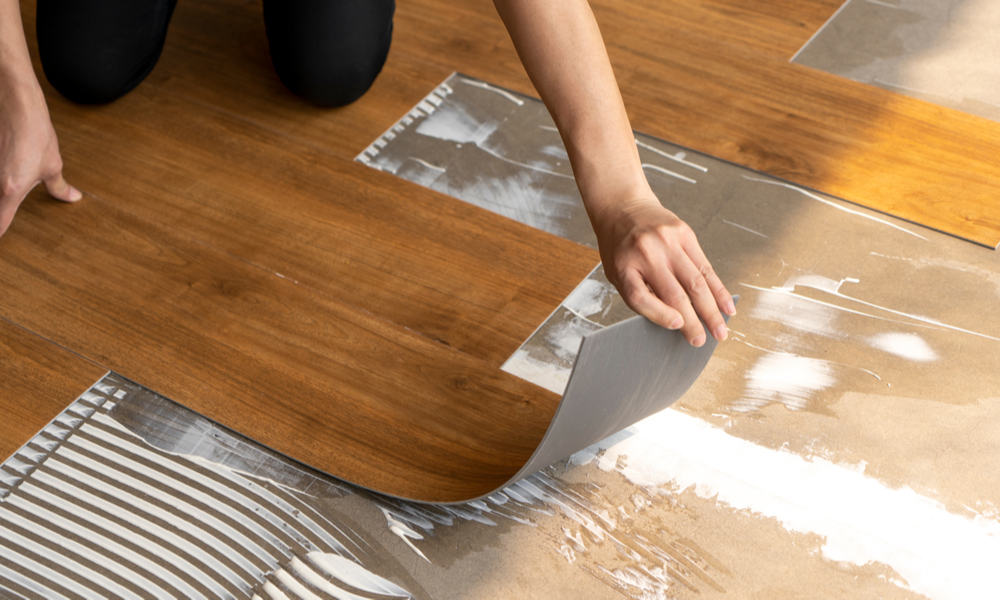
For larger repairs or replacements, you will need to cut the new vinyl flooring to size using a utility knife and trowel adhesive onto the surface. It is essential to ensure that the new section of flooring matches the existing flooring seamlessly, so take your time when measuring and cutting the new material.
Allow Time to Dry
- Once you have made the repair or replaced the damaged section of vinyl flooring, it is essential to allow time for the adhesive to dry fully. This can take anywhere from a few hours to several days, depending on the type of adhesive and the temperature and humidity of the room.
Finishing Touches
2. Once the adhesive has dried, you can make any necessary finishing touches to the repaired or replaced section of the floor. This may include buffing or polishing the surface to ensure a smooth finish, or applying a protective coating to prevent further damage.
In conclusion, repairing or replacing vinyl flooring can be a straightforward process, provided you have the right tools and materials and follow the steps outlined in this guide. By assessing the damage, gathering your materials, preparing the surface, making the repair, allowing time to dry, and adding finishing touches, you can restore your vinyl flooring to its former glory and ensure it continues to look great for years to come.